Disclosure: As an Amazon Associate I earn from qualifying purchases. How this site works
How to Dial In Espresso
Dialling in is a repeatable experiment with dry coffee dose, beverage yield, grind and taste. Use a compatible basket and your machine instructions; the number of attempts varies by coffee and equipment.
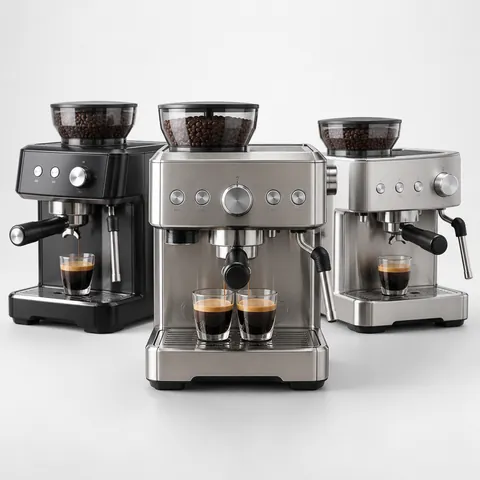 Espresso machines with built-in grinders
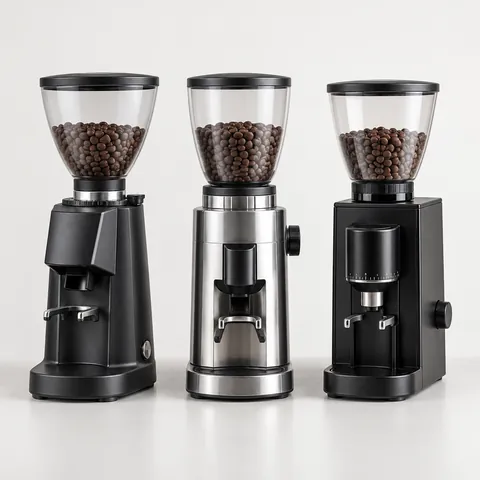 Standalone espresso grinders
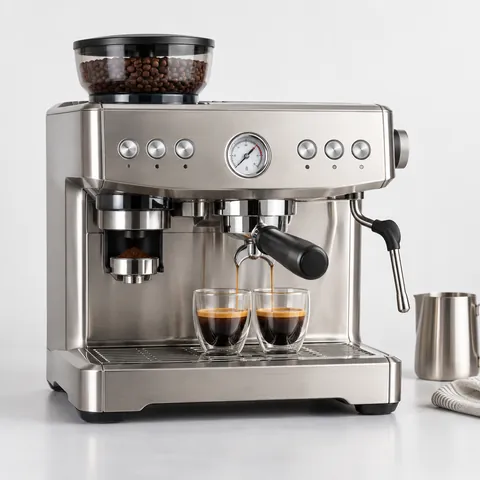 Dual-boiler machines with grinders
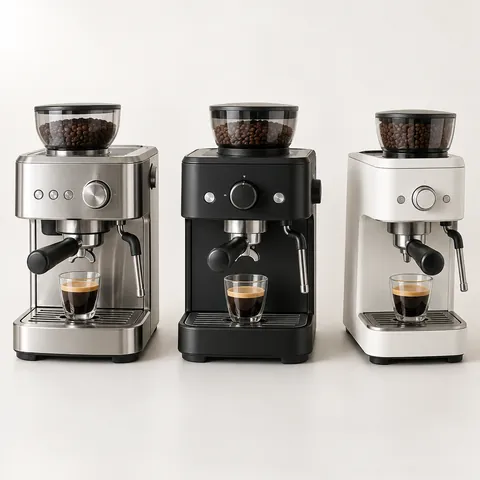 Compact espresso machines with grinders
The starting recipe
| Variable | Starting point |
|---|---|
| Dose (dry coffee) | Use the basket maker’s dose range; 18 g is an example only |
| Yield (liquid espresso) | For a 1:2 example, 18 g dry coffee gives 36 g beverage output |
| Time | Record from pump start; 25–30 seconds is a trial window, not a pass/fail rule |
| Temperature | Use the model/coffee recipe; record the setting if adjustable |
Adjusting
- Weigh dry coffee within the basket’s specified range, then weigh the beverage output.
- Record the timing convention and taste before changing a setting.
- For unexpectedly fast or slow flow, check dose, basket and puck preparation; then try one permitted grind adjustment.
- Follow the grinder manual for adjustment and clearing retained grounds.
- Re-test with the same dose and target yield; time alone does not prove correct extraction.
- Keep the settings that suit this coffee and your taste; log each change.
Consistent dosing matters: machines with built-in grinders often have timed or programmable doses — check them with a scale.
How do I set the grinder before the first shot?
Start with the machine clean, warm, and dry. A cold group head, damp basket, or stale coffee left in the chute can make the first shot misleading. Let the machine heat fully, lock in the empty portafilter while it warms, and run a blank shot if the manual recommends it.
Use fresh beans, but avoid beans that were roasted extremely recently. Coffee that is still releasing a lot of gas can gush, foam heavily, and change from shot to shot. If the bag has a roast date, a few days of rest is usually helpful for espresso.
Before changing the grind, confirm that you are using the right basket. A single basket, double basket, pressurized basket, and non-pressurized basket all behave differently. Dialing in is most predictable with a non-pressurized double basket and a dose close to what that basket is designed to hold.
- Use the manual’s initial espresso setting and its permitted adjustment method, not an assumed middle number.
- Grind slightly more than your target dose, then weigh the coffee in the basket.
- Level and tamp the puck the same way every time.
- Pull the shot and record dose, yield, time, grind setting, and taste.
- Change only one variable before the next shot, usually grind size first.
If your machine uses numbered grind settings, do not assume the same number will work for every coffee. Darker roasts often need a coarser setting than lighter roasts, and decaf often behaves differently from regular coffee. Treat the number as a bookmark, not a universal recipe.
Why does my built-in grinder change slowly after I adjust it?
Many built-in grinders hold a small amount of ground coffee between the burrs and the chute. After you move the grind dial, the next few grams may still include coffee from the old setting. That is why a shot can look unchanged even after you made the correct adjustment.
Purge only enough coffee to clear the path. You do not need to waste a full basket every time unless your machine has unusually high retention. A short purge is usually enough to make the next dose more representative of the new setting.
Some machines should be adjusted only while the grinder is running, especially when moving finer. This helps prevent beans from jamming between the burrs. Check your manual; if it says to adjust while grinding, follow that instruction.
- If the shot stays fast after a finer adjustment, purge a little more and try again.
- If the motor strains or jams, stop and follow the manual’s clearing procedure before changing settings again.
- If grounds spray or clump heavily, clean the chute and make sure the hopper is feeding beans evenly.
- If the programmed dose changes after a grind adjustment, reweigh the dose. Finer grinds can dispense more slowly in a timed grinder.
If adjacent grind settings give very different results, first verify dose, basket and preparation. Any dose change must stay within the basket’s specified range. Do not keep brewing through a choked or jammed machine; follow its troubleshooting instructions.
How do puck prep and basket fill affect dialing in?
Grind size gets most of the attention, but puck preparation can make two shots with the same recipe taste completely different. Espresso water follows the easiest path. If the puck has cracks, voids, or an uneven bed, the shot may run fast in some areas and slow in others.
After grinding, look at how the coffee sits in the basket. Built-in grinders often drop grounds in a mound off-center. Break up obvious clumps, spread the coffee evenly, and tamp level. The exact tool matters less than doing the same careful routine each time.
Use the basket maker’s dose range and headspace guidance. If the portafilter will not lock normally, do not force it; check the dose, basket and fit. A puck mark alone is not a universal clearance test.
| Symptom | Likely puck issue | What to try |
|---|---|---|
| First drops appear very early, then the shot blondes fast | Loose or uneven puck | Distribute more evenly and tamp level before changing grind |
| Shot sprays from a bottomless portafilter | Channeling | Check for clumps, cracked puck edges, or an uneven tamp |
| Portafilter is hard to lock in | Basket may be overfilled | Lower the dose slightly or use the basket size the manual recommends |
| Puck is soupy after brewing | Not always a problem | Judge by taste and flow, not puck appearance alone |
A scale is more useful than the machine’s scoop or a visual fill line. If your built-in grinder doses by time, the weight can drift when you change beans, roast level, or grind size. Weighing the dose catches that drift before you chase the wrong problem.
What if the espresso still tastes bad after the time looks right?
Shot time is a guide, not the finish line. If the espresso lands near your time and yield target but still tastes wrong, use flavor to decide the next move. Keep the dose steady, then adjust yield in small amounts before making another major grind change.
- Sharp, sour, or salty: try a slightly longer yield, a finer grind, or a higher brew temperature if your machine allows it.
- Dry, bitter, or ashy: try a shorter yield, a coarser grind, or a lower brew temperature if adjustable.
- Thin but not sour: check that the dose is not too low for the basket and that the beans are not stale.
- Heavy and muddy: shorten the yield or grind a little coarser to reduce harshness.
- Good flavor but weak in milk: use a slightly shorter yield for a more concentrated shot.
Milk drinks can hide some defects and exaggerate others. A shot that tastes a little intense on its own may work well in a cappuccino, while a long, mild shot can disappear in a latte. If you mostly drink milk drinks, dial in for the drink you actually make.
If you repeatedly hit the grinder’s finest setting and the shot still runs too fast, first rule out stale beans, underdosing, a pressurized basket mix-up, and poor puck prep. If those are not the cause, the built-in grinder may not have enough fine adjustment for that coffee. A separate espresso grinder can give you more control, but it is worth fixing the basics first.
How should I save settings for different beans?
Keep a simple log for each bag of coffee. You do not need a complicated spreadsheet; a note on your phone is enough. Record the bean name, roast date if available, dose, yield, time, grind number, temperature, and one taste note.
Expect the setting to move as beans age. As a bag sits open, shots often run faster, so you may need to grind a little finer over time. Make small changes and keep the same target yield while you adjust.
When switching beans, clean out the hopper if your machine makes that practical. Mixing two coffees can make the first shots confusing. If the hopper cannot be emptied easily, wait until it is nearly empty before changing beans.
Built-in machines are convenient because the grinder and brewer live in one workflow. If you are still choosing a machine, look for clear grind markings, easy access for cleaning, and a dose system you can verify with a scale. Those features matter more for dialing in than a long list of drink presets. See espresso machines with built-in grinders if you want to compare feature types before buying.
Frequently asked questions
Do I time espresso from pump on or from the first drip?
Use one method consistently. Timing from pump on is easier to repeat because it includes pre-infusion and the machine’s full brew cycle. If your machine has a long automatic pre-infusion, write that down so you do not compare it directly with a machine that starts full pressure right away.
Should I use a pressurized basket when dialing in espresso?
A pressurized basket is more forgiving, but it hides some grind and puck-prep problems. If your machine and grinder can work with a non-pressurized basket, that is the better choice for learning to dial in. Use the pressurized basket for older pre-ground coffee or when the grinder cannot go fine enough.
Why does my shot run faster halfway through the bag?
Beans change after the bag is opened, and the grinder setting that worked at first may not hold for the whole bag. If the dose and puck prep are the same, move the grind slightly finer and check the yield. Store beans sealed at room temperature and avoid leaving a large amount in the hopper for days.
Can I dial in without a scale?
You can make espresso without a scale, but dialing in is much harder because you cannot tell whether the problem is dose, yield, or grind. A small gram scale lets you repeat a good shot and fix a bad one faster. If you skip the scale, at least use the same basket fill, cup, and programmed button every time.
Disclosure: As an Amazon Associate I earn from qualifying purchases. This site may earn a commission when you buy through its links, at no extra cost to you. Product details come from public manufacturer information; always check the merchant page for current specifications and prices. We have not hands-on tested the products described here.